I originally created the Post-it Note Pumpkin several years ago back on Being Mrs C. Time to revive it for this Halloween!
As Little Miss C and I sat at the kitchen table today crafting together with a bit of a halloween theme inspiration struck. Still on our patio windows were the letters that we put up when we reviewed Post-it Notes a few weeks back and as I looked at the orange and green colours I realised that I had the perfect materials to make a giant Post-it Note pumpkin.
What you need to make a Post-It Note Pumpkin
All you need to make this is:
- Orange Post-It Notes*
- Green Post-It Notes*
- Black paper/card*
- Glue* or double sided sticky tape*
- A large wall or window space
How to make your Pumpkin
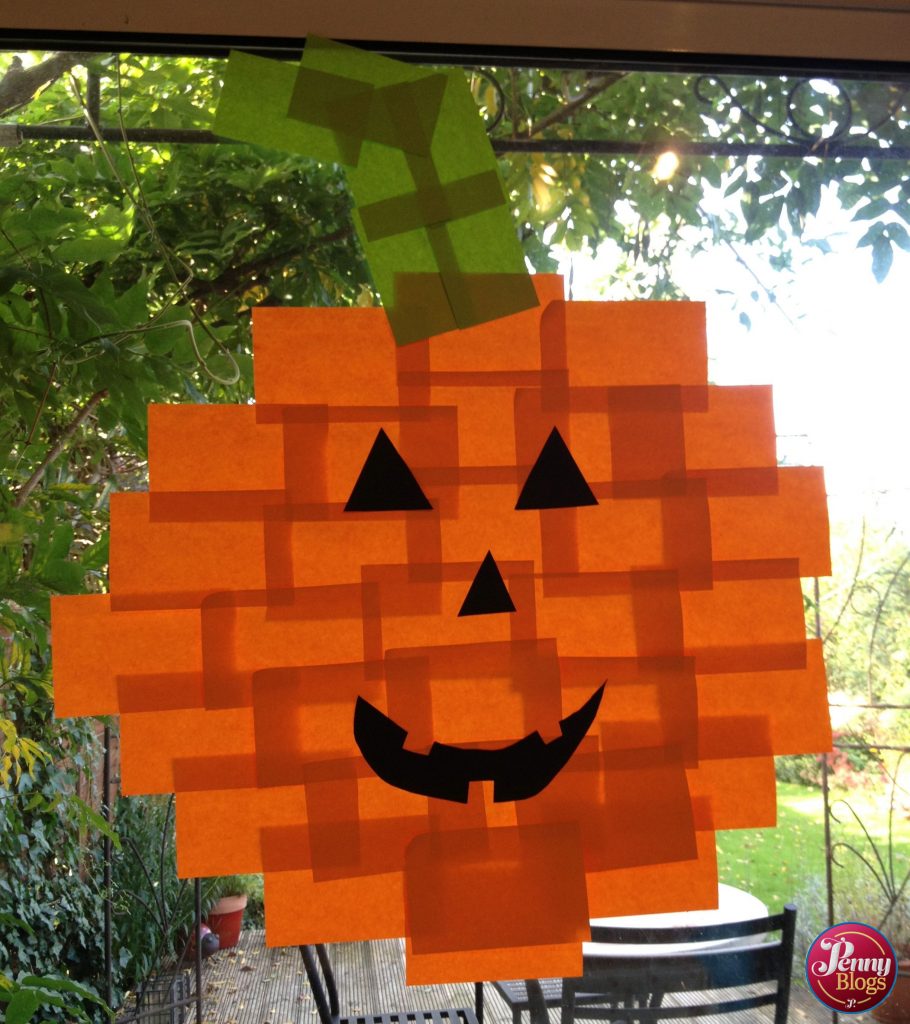
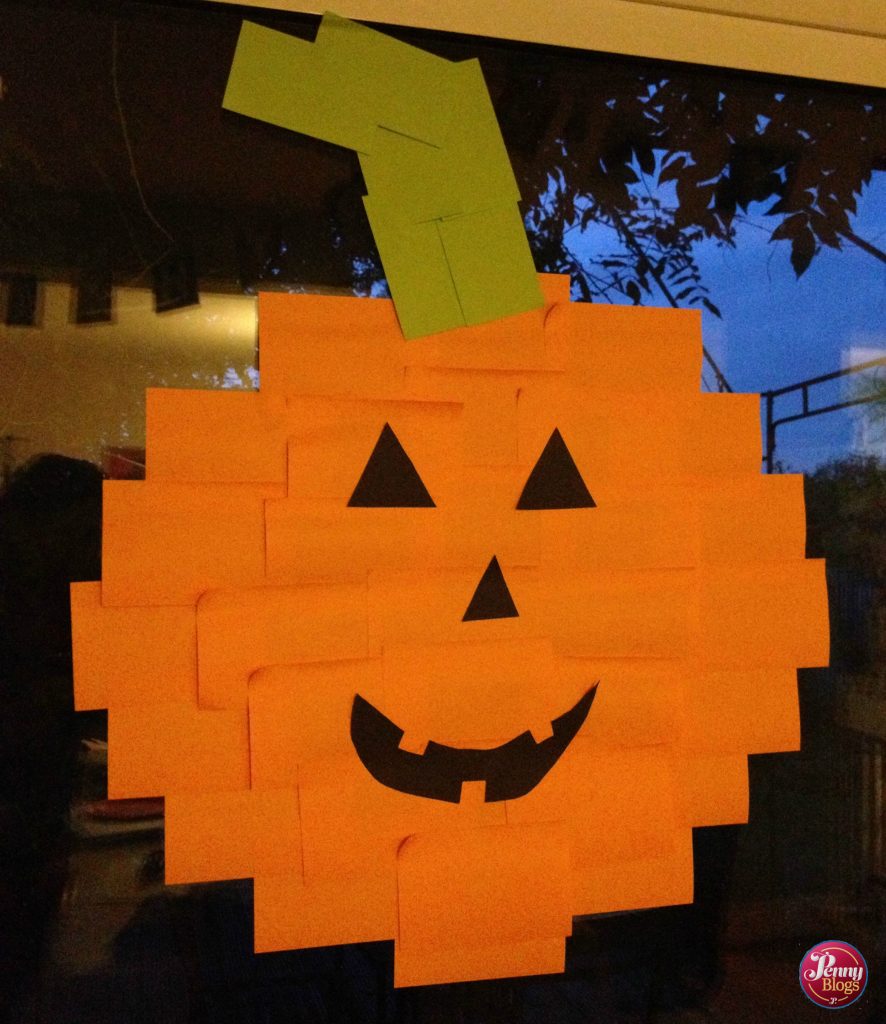
Arrange the orange Post-it Notes in a roughly round shape. You could make it a bit flatter at the bottom if you wish. Add some green Post-it Notes at the top to form a stalk.
Take your black paper / card and cut out three triangles (two for eyes and one for the nose) and a mouth shape. Use either glue or double sided sticky tape to attach them on to the orange Post-it Notes.
The Finished Pumpkin
Ta-da! One complete Post-it Note pumpkin.
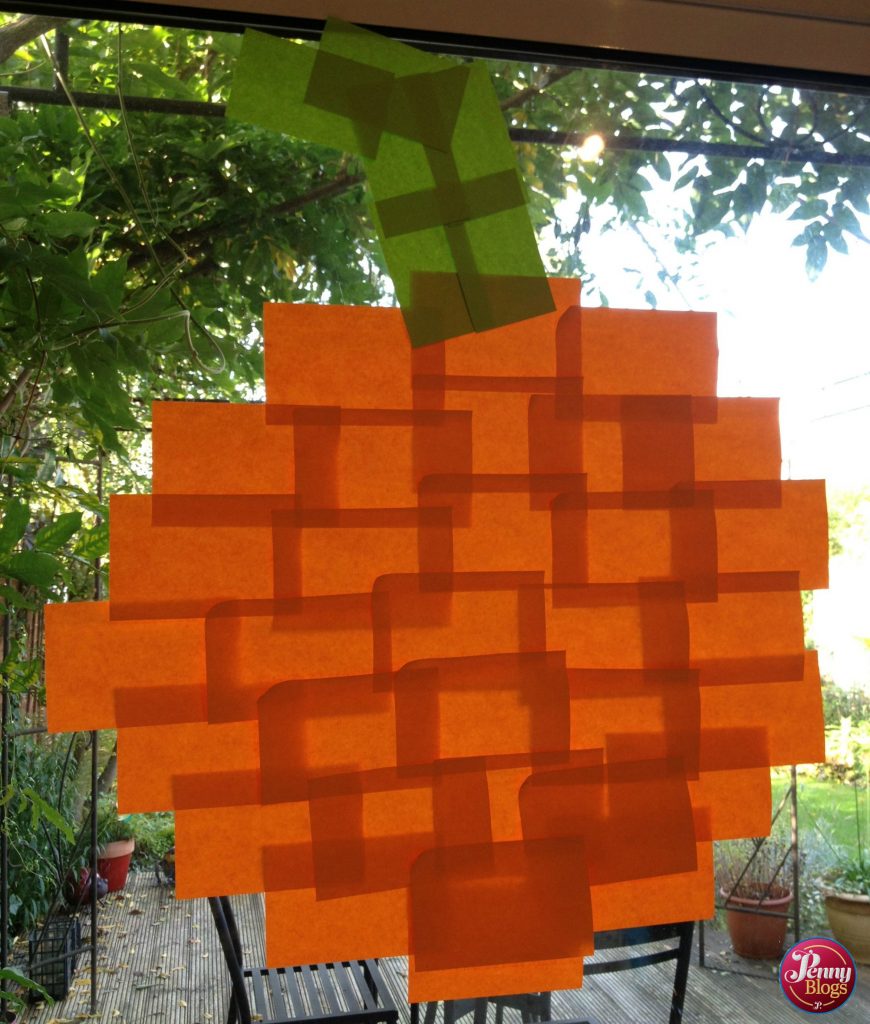
If you’re feeling really clever you could try to create it in reverse so that it could go in a window and be seen from outside. I’m wondering about a smaller version for the square glass panel in our front door.
Happy Halloween!
Disclaimer: Links marked * are affiliate links. If you order anything via them it will cost you no more than if you’d gone to Amazon yourself to buy them, but I will receive a small commission. Many thanks for any purchases you make. They are very much appreciated in these tricky financial times.


Leave a Reply