I promised you all an update on the house and I’m a woman to keep my promises. Although we’ve been so busy that I can’t deny it’s taken me a lot longer than I planned to get round to writing this.
Let’s start by talking about bathrooms. This house has two. A downstairs loo and then an upstairs “family bathroom” which has a bath in it, with a shower over the bath.
The Downstairs Loo
The downstairs loo was a pretty simple affair. A rectangular the room with the door on one side of it. As you go in to your left is the toilet and to your right a washbasin. The basin that we ended up having to replace unexpectedly a few years back.
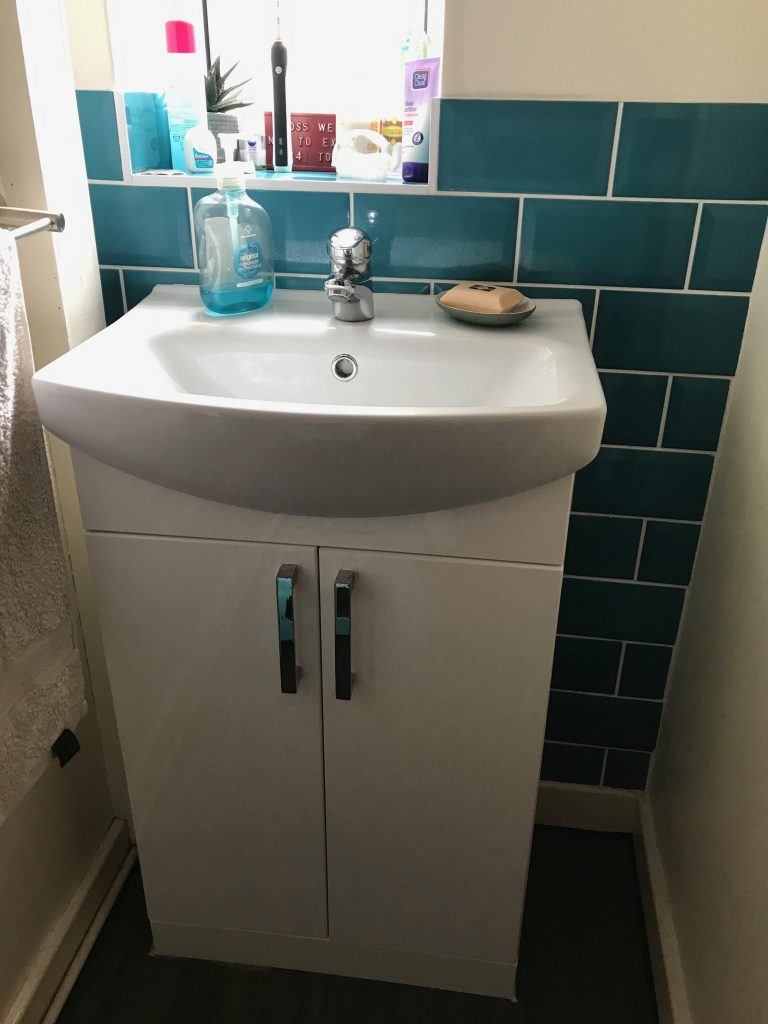
I realise that I never actually got round to sharing what we’d done in there though so this time round I actually have pictures. It’s all relatively simple with some petrol blue metro style tiles around the sink, and a built in cupboard underneath it.
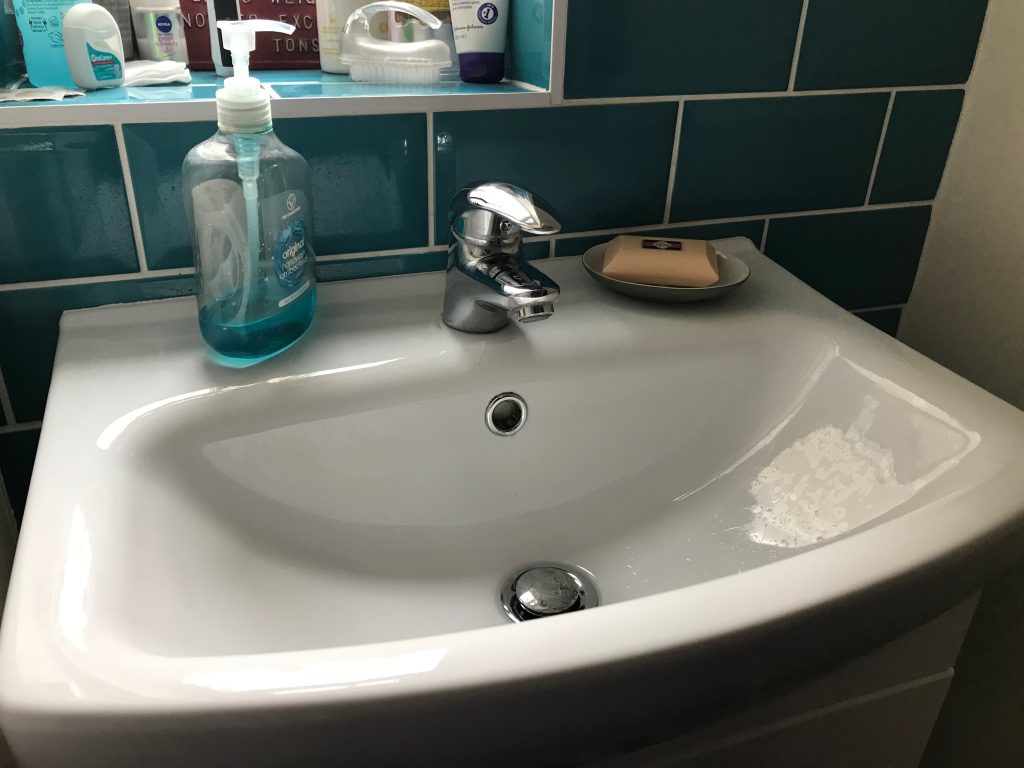
This isn’t the most attractive room at all and with no heating in there it can also be cold, especially in winter. There’s an outside wall (which actually goes to our neighbours garage as these are link-detached houses) and a small window which looks out onto a dead bit of space to the side of our porch.
Dream plans
If money were no object what we’d like to do would be to extend out of the front of the property and a new downstairs bathroom would be part of those plans. The porch is something that the previous owner handbuilt in the 1970s and it’s an incredibly useful space for shoes, boots, coats etc, but it is just stuck on the front of the house and leaves loads of wasted space either side of it. If we could build out properly and use all this space we could enlarge the downstairs bathroom and maybe even extend the kitchen too. That is also at the front of the house sticking out somewhat from the main building. Bringing all this area together would be a large piece of work and completely transform the downstairs of the whole house, but for now budget doesn’t allow us that at all.
Practical plans
What is possibly more in budget is trying to move the toilet to the opposite end of our downstairs bathroom and try to squeeze in a shower where it currently is. We’ve done some measuring and think it should just work. A small handbasin could I think fit on the wall opposite the door (possible as the door actually opens outwards at present) and that would make it usable as a full mini-bathroom. On a practical level, as a family of five this would be so handy, especially as our eldest has a downstairs bedroom.
Now we’ve found a plumber locally that we trust (more on him in a moment) it’s much more of a possibility we just need to save up – and get the other bathroom finished.
Upstairs Family Bathroom
The upstairs bathroom was functional when we moved in so we’ve really just made do with it since then. The tiles were a pale blue with some floral bits, but the sanitary wear was just plain white. At some point the main toilet pan cracked alarmingly so we found someone to replace that with just a simple cheap unit from B&Q. It did the job, but was nothing really to write home about.
The electric shower seized up – probably due to all our hard water clogging it up – and we replaced it with a like for like one from Screwfix with B replacing it himself. It was still quite pathetic as a shower goes, but at least kept everyone clean.
Problematic layout
The bathroom layout is far from perfect. As you go in it’s a square-ish room. Immediately opposite the door is the toilet. To the right of that is a washbasin and to the right of that is the tap end of the bath. The bath is across the wall with the only window in it – at right angles to the wall with the door in it. Between the foot of the bath and the door is a small Ikea storage shelf that we’ve squeezed in. The shower is actually at the foot end of the bath.
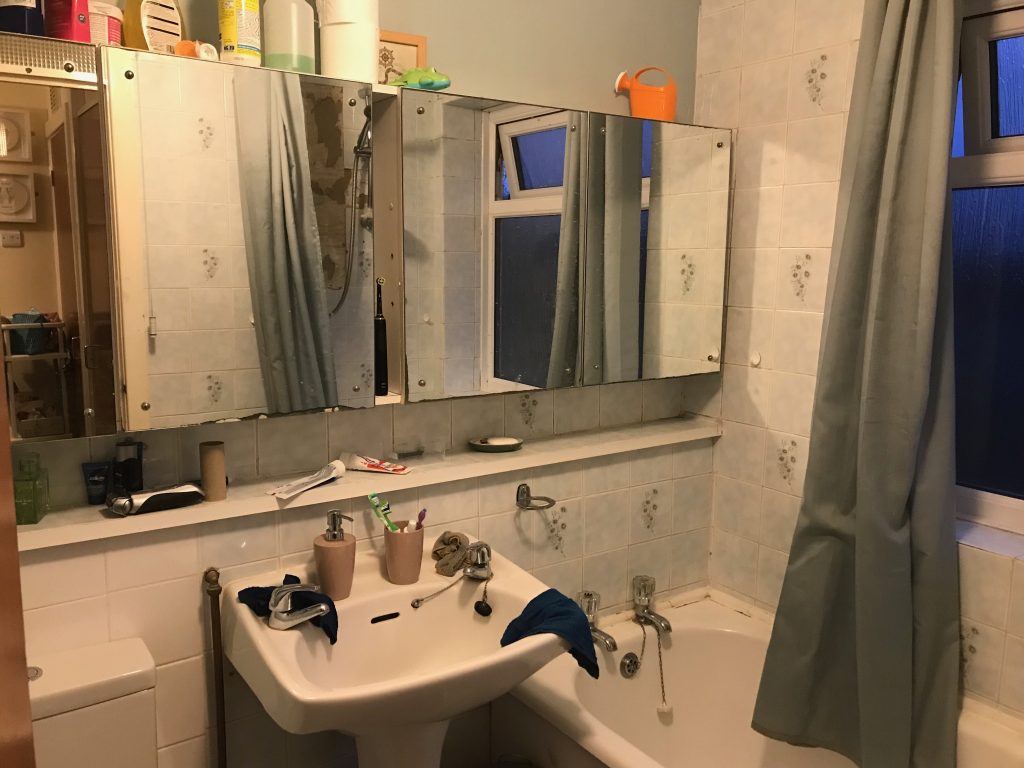
The wall with the toilet, sink and tap end of the bath on it has a built in shelf running the whole length of the wall just above all these and some of the pipework is hidden behind the wall that’s below this shelf. Higher up on the wall are some mirror fronted cupboard that the previous owner built to fit.
This layout means that you need a way of keeping the water off the bathroom window when you have a shower. At the moment we do that by having two shower curtains – one either side of the bath. Again, not perfect, but workable.
Upgrading the shower
For ages we’ve been wanting a better shower and just kept putting it off as we couldn’t work out how we’d manage without a bathroom whilst the work was done. We finally decided that there was never going to be a good time to get this done so just went for it. Replacing the whole bath wasn’t an option due to both cost and convenience.
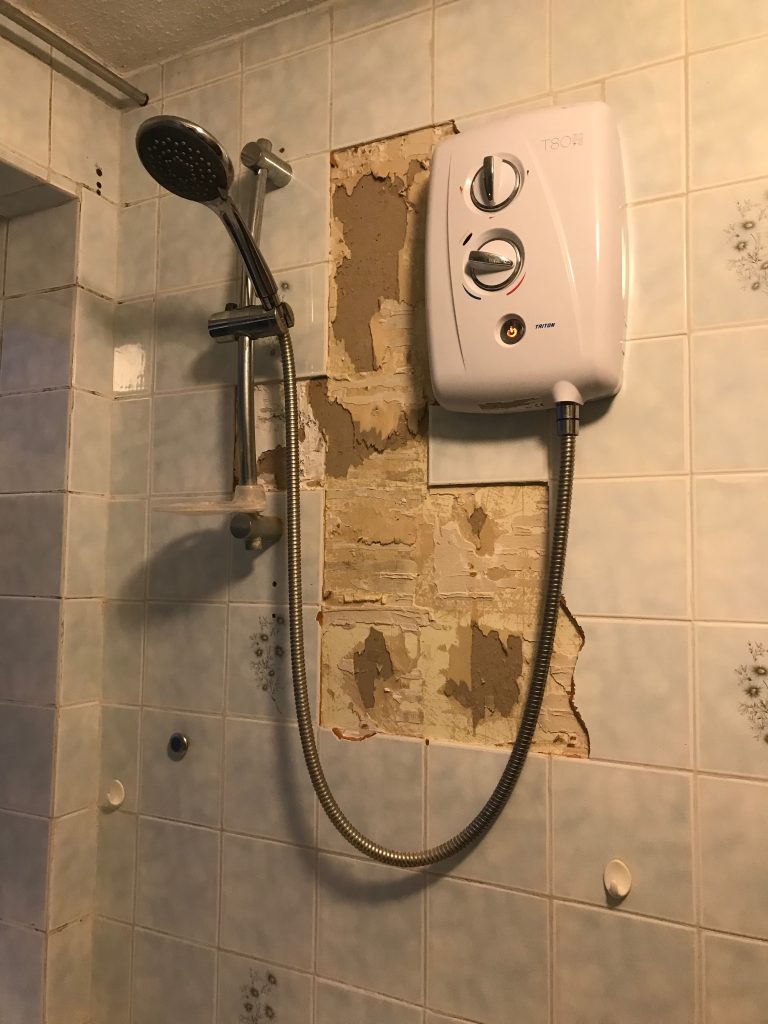
We stripped off the tiles on the wall where the shower is and then got a plumber in to decommission the old one and put in plumbing for a new shower and accompanying pump in the next door airing cupboard. We then tiled that wall ourselves and got the plumber back to actually install the new shower. This plan meant a week without a shower, but with some careful use of plastic sheets we could still use the bath.
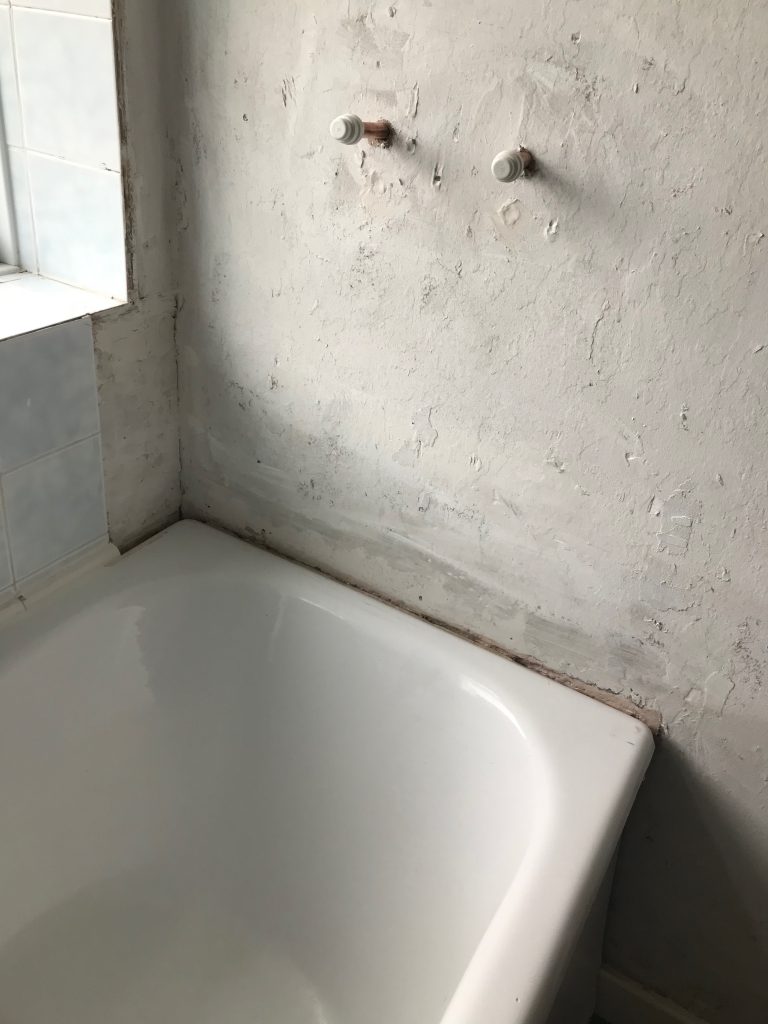
We’re now at the stage where the new shower is installed, but we’re still plodding on with re-tiling the rest of the room and it’s very much a project that’s been worked on in dribs and drabs as time allows. The shower curtain over the window side means that we can still shower whilst the rest of the work is ongoing, although on the flip side that does remove some of the pressure on us to get the job finished.
What we used
The decor choices that we’ve made so far are relatively simple, but the amount it’s changed the look of the bathroom is unbelievable. Like in the downstairs loo we went for metro style tiles, but this time in white and combined with black grout. The tiles came from B&Q as they worked out cheapest compared to other places we found locally. For things like the tile adhesive and black grout we actually bought these from Amazon as they were cheaper than the high street DIY places and there was the added advantage that it was delivered. Some of the other smaller bits we needed like rubble bags etc where also cheapest on Amazon. I know prices change regularly, but it’s definitely worth shopping around to get the best price on things.
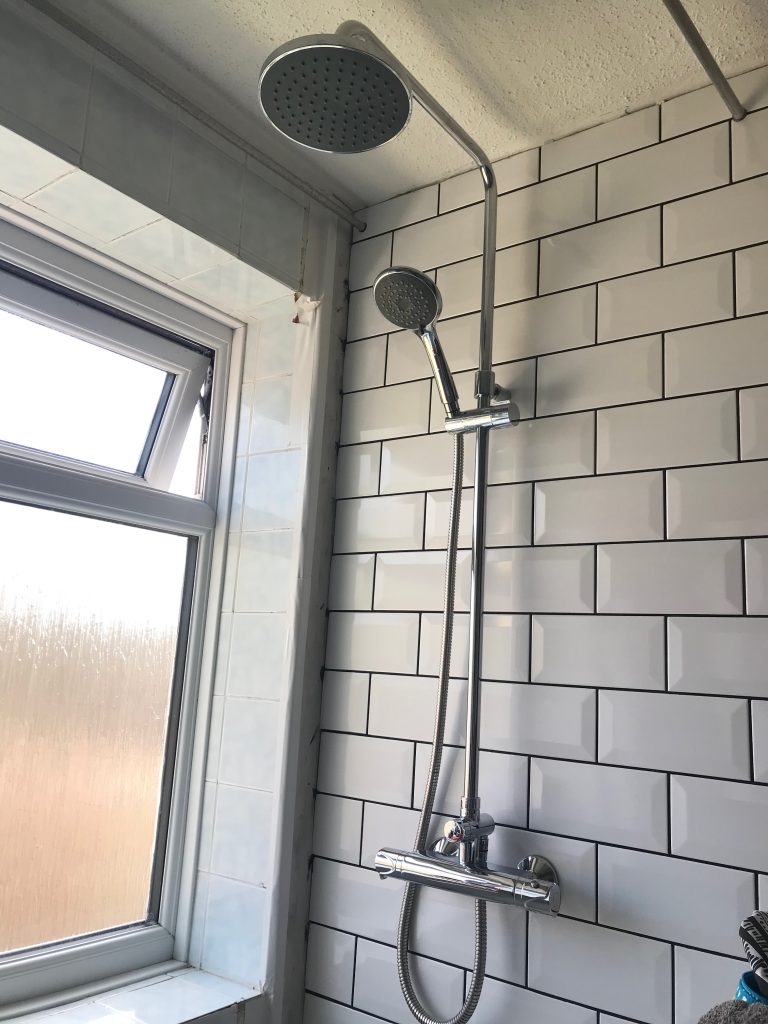
The shower were chose was a Triton one with two heads – a rainfall head and a handheld one. Absolute luxury compared to the dribble that we’d put up with for five years! This is the Triton Benito bar mixer shower. We saw it originally in B&Q but when we bought it saved about £20 by going to Screwfix. Looking today Screwfix (which is the same parent company as B&Q) is actually a whole £40 cheaper – so again definitely worth working out what you want to buy and then finding where has it cheapest.
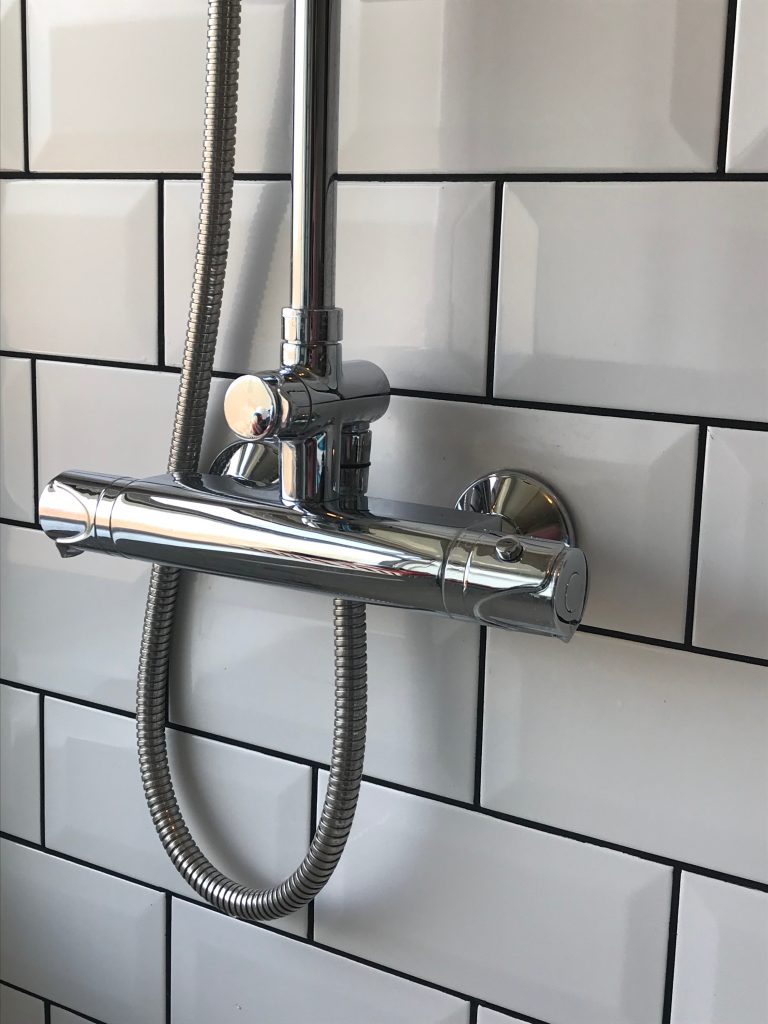
There’s so much still to do and I haven’t yet touched upon what we’re planning for the wall with all the cupboards on at the moment. First though – we need to finish tiling around the bath area. Hopefully all these bank holidays in May will help us get it finished sooner.
Finding bargains
As well as doing the work to buy everything new as cheaply as possible we’ve been putting in some more work to see what we can buy secondhand. Facebook marketplace is full of things that people have bought and then changed their mind about. We’ve acquired a heated towel rail that we plan to use in the bathroom this way and last week’s bargain was a guy selling off seven (yes 7!) interior doors for the grand total of £50. All still wrapped in the original plastic and we think costing about £60 each. It means our garage is currently full of doors, but we have an absolute bargain there. We need to get hinges and handles for them all, but bearing in mind we were planning to buy new handles for all the doors anyway and paint them all this should save both time and money in the long run.
It’s also worth not throwing anything away immediately when you do work like this. Our old electric shower unit made over £30 on eBay, and as anyone doing renovations knows every little bit of money counts!

