A couple of days back I wrote about what we had, or hadn’t, achieved since moving into our new home about 17 month ago. As someone who has blogged for years I’ve learnt that one of the most valuable things about blogging is being able to look back and see what you have achieved over time, and how you did it. It’s a lovely thing to do when you write about your kids but also when you write about projects in the home too.
When I first set up Penny Blogs that was my aim. I wanted to record what we did with our new home and show how far we’d come. Then a week before completing I found out I was pregnant, and unsurprisingly there have been more posts on here about pregnancy than anything else!
That’s going to change though.
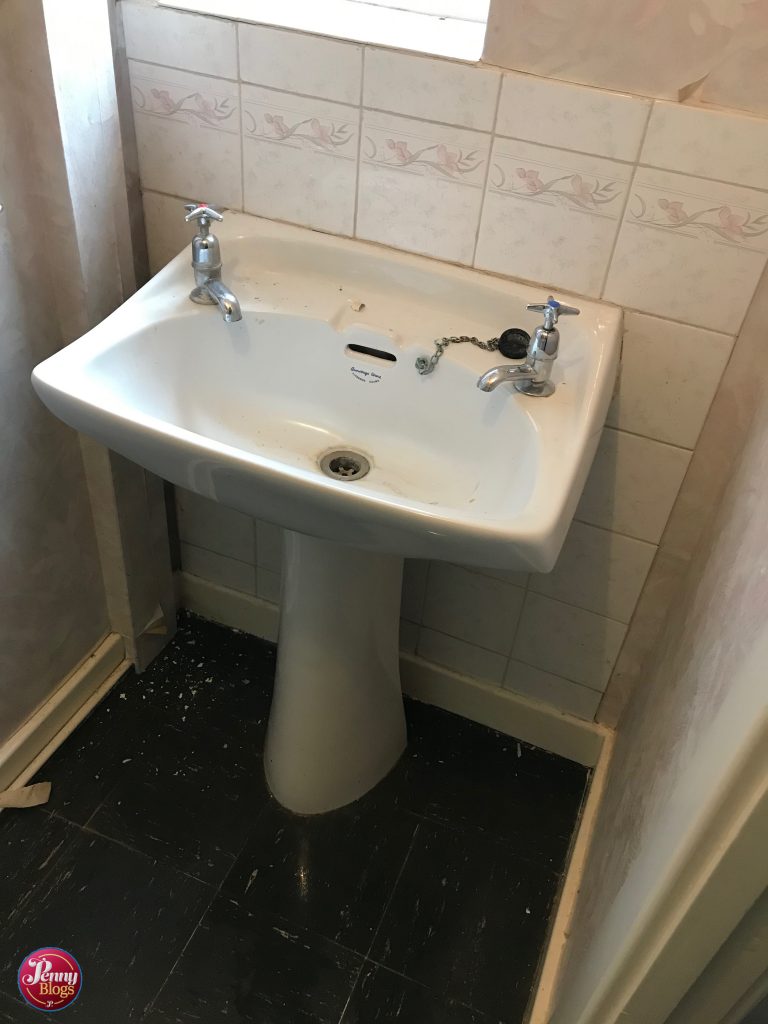
I know I needed a kick start, but I wasn’t expecting it to happen in the way it did. I’d taken Tube Stop Baby out for lunch with a friend (never too young for her to start life as a lady who lunches!) and left Bonn at home where he’d promised to finally change a couple of taps that were so old they’d seized up. Later on in the day we exchanged a few text messages and I asked how things were going at home. He mentioned that the upstairs bathroom taps had been changed. Then he said: “Well, I’ve broken the downstair sink, but that’s a different story”.
It turns out that in trying to get one of the old taps off the sink he’d had a bit of a struggle as it simply wouldn’t budge. The tap won that particular struggle though and the result was a nice crack in the sink that wasn’t going to get any smaller.
We’d always said that the downstairs loo needed a bit of a makeover. I just wasn’t expecting to start it so soon.
To me it made no sense at all just changing the sink when it was the perfect opportunity to get rid of the old tiles that were behind it, and also freshen up the whole room and get rid of the smelly carpet that was in there. I didn’t see the point in changing the toilet itself as that seems to work perfectly well, but it’s the only thing in the room that is staying put.
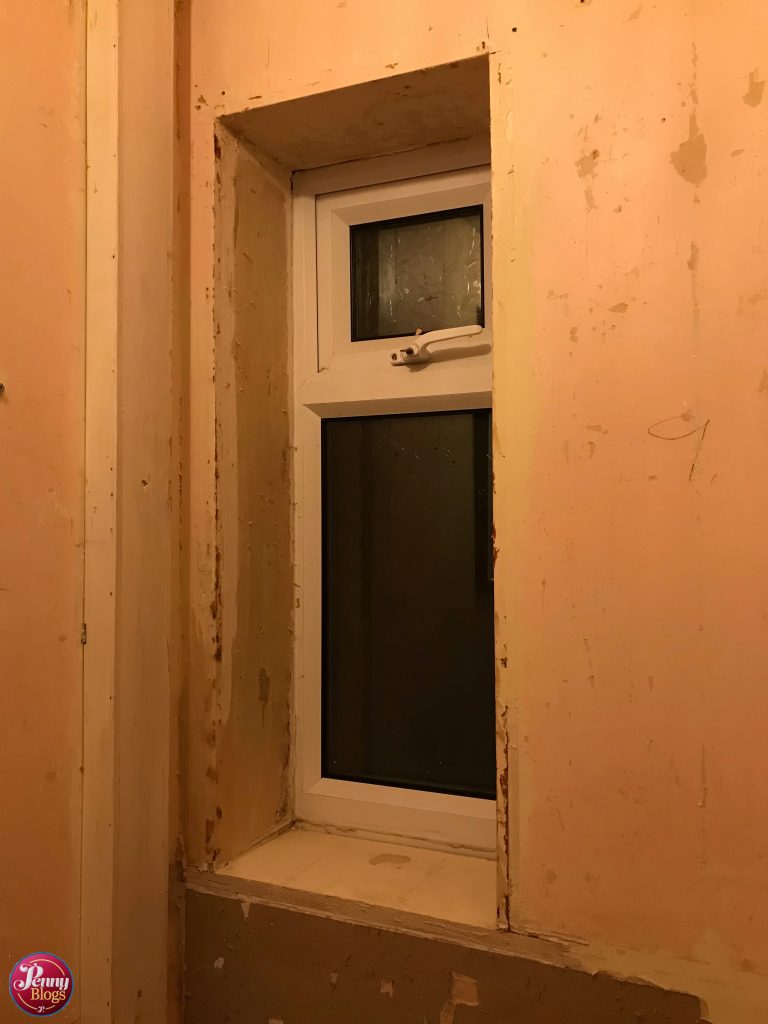
It’s only a small room with the loo and sink at opposite ends and a small window over the sink. It had ended up being a bit of a display space though for the various bits of train memorabilia that we’ve collected, and some well positioned shelves over the loo make a great place for storing board games too!
Design isn’t really my thing. I know what I like and what I don’t like and those are really the two “design principles” that I work from. We both wanted a vanity unit style basin, so that we could make use of the storage below it for things like cleaning products etc that can then be kept out of the children’s way. Trying to replace the old pedestal sink with one of those though means quite a bit of other work first. The project manager in me loves a bit of planning though.
The stages involved are as follows:
- Remove old sink
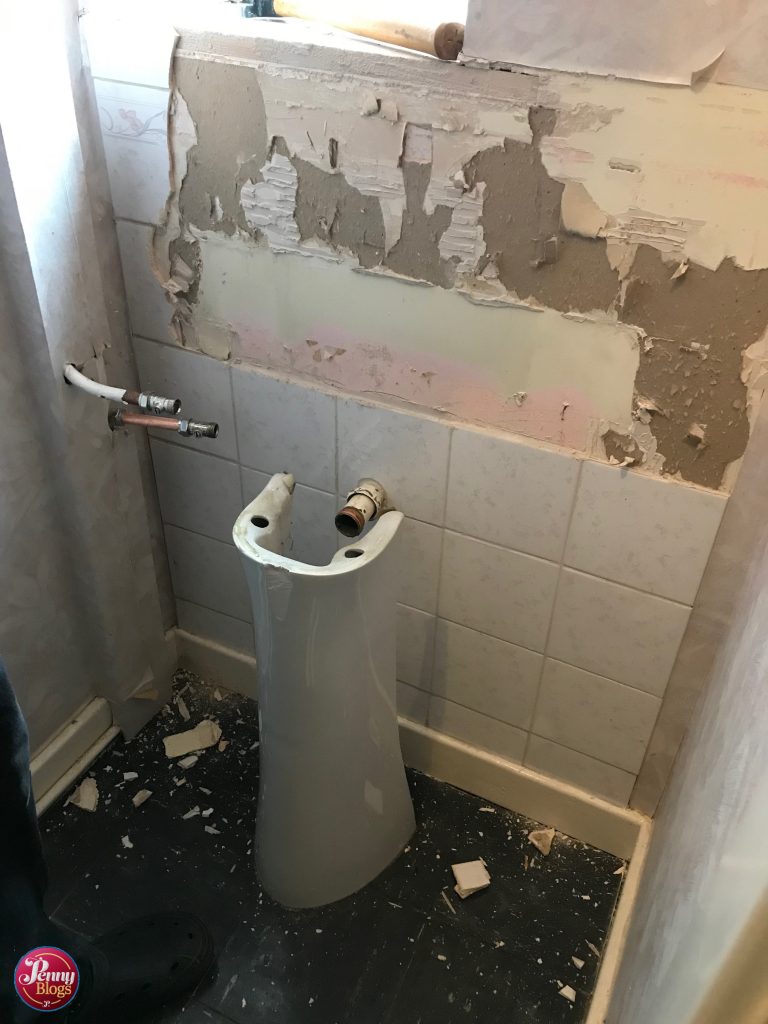
- Remove wall paper (easier said than done!)
- Sand walls and fill cracks and holes
- Put up lining paper on the bits of wall that can’t be saved with filler alone!
- Two coats of primer on walls
- One/two coats of paint
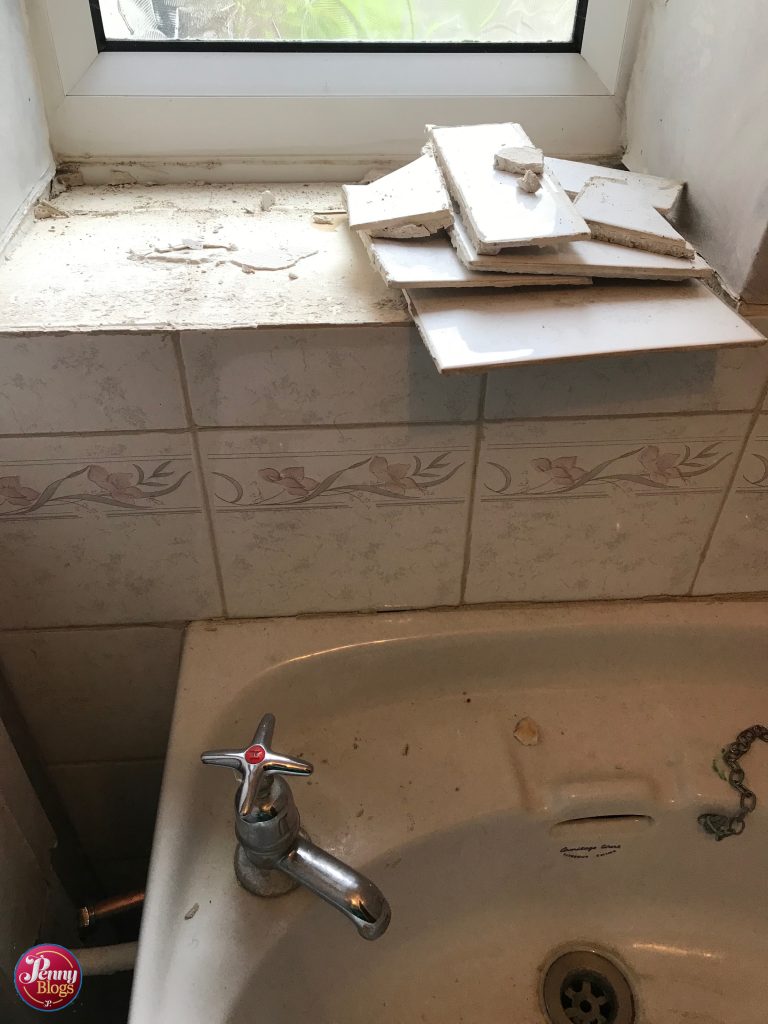
- Tile wall where sink will go and window sill above it (oh how easy that sounds!)
- Put down new flooring
- Assemble vanity unit
- Plumb in new sink (easy I’m sure!)
- Put shelves back up, put board games on them and then put pictures up
- Think about finally getting some sort of blind for the window
Maybe a weekend project when you look at that list?
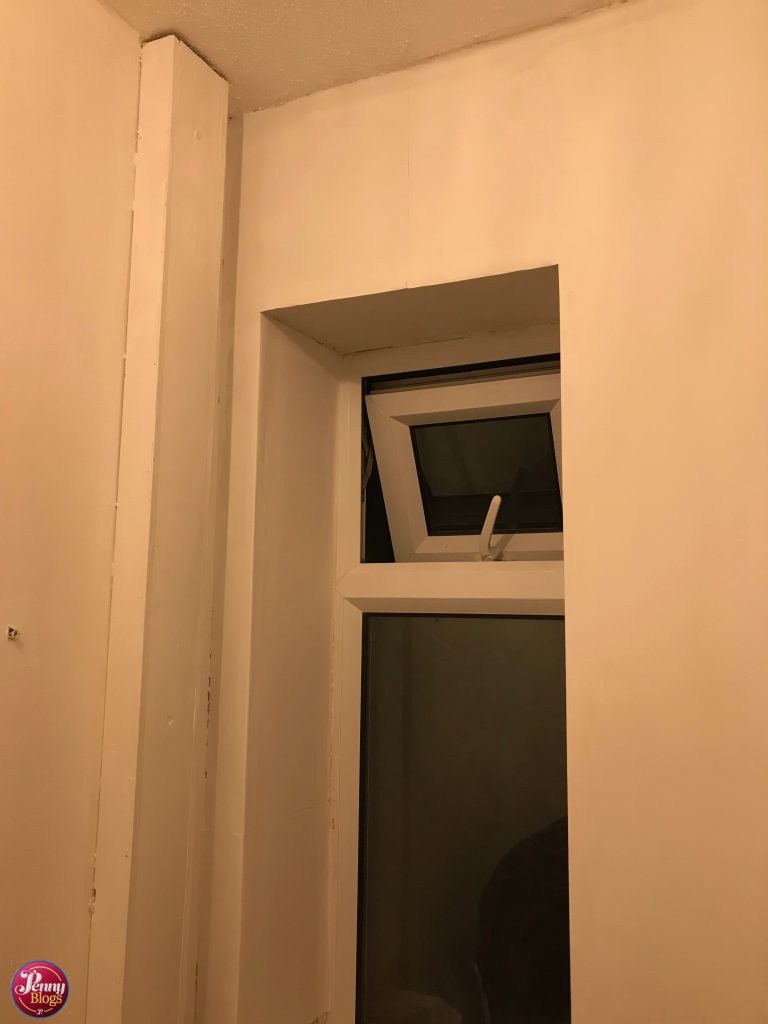
Well – as I sit here at 11pm on Sunday night I can proudly tell you that we got as far as two coats of primer on the walls!
Firstly, the old sink didn’t want to budge at all. Everything we read in books or online about how pedestal sinks were attached to the wall was completely wrong in this case. Instead of any screws holding it to the wall the basin was instead attached to the pedestal by a bolt, but one that we could only see if we had a camera at a weird angle and took a photo looking up. In the end it was brute force that helped us get it out off the room.
Getting the old wall paper off also took forever as we basically had to scrape it all off by hand. The top layer separated from the base easily enough, but the latter was held firm to the walls, even after we think about 40 years. When we got it off, there were a couple of bits of wall where there were so many holes that we knew that filler alone wasn’t going to do the trick, so instead we opted for putting up some lining paper which we then planned to paint over. The first coat of primer showed where the walls still had loads of problems and imperfections so we also ended up with a huge amount of filling between the two coats.
Neither of us had hung wallpaper before, so that was another learning curve. My rock n roll Friday evening was basically spent learning all about lining paper, and it’s amazing how excited you can get about a helpful article online. Thanks B&Q.
The actual hanging the paper was no where near as complicated as trying to get the wallpaper paste right when you’re trying to only make a small portion of it rather than a whole bucket’s worth!
There’s no grand reveal in this blog post, simply because there is nothing to reveal as yet. But in terms of achievements for a weekend, I think we should be pretty proud of how much we’ve done. Especially with a 9 month old baby who only naps for about 30 minutes a day to look after! The challenge now is going to be getting it finished though. Finger’s crossed we can keep the momentum going and show you the finished room soon.

