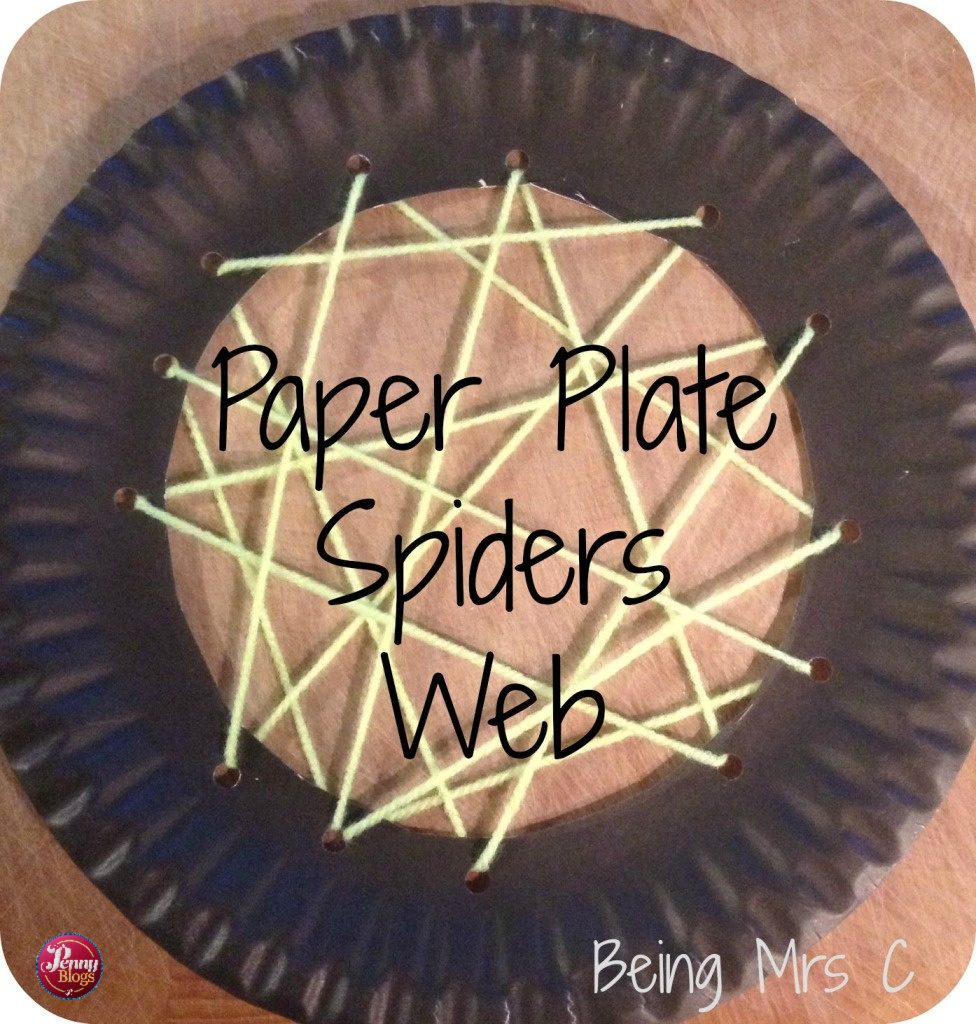
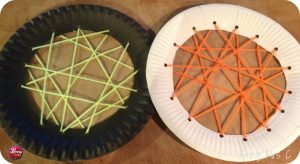
I first blogged about making a paper plate spider’s web as a Halloween craft over on Being Mrs C several years ago. Seeing as Halloween is approaching it seemed the right time to dust off the festive cobwebs and share it again.
I saw a picture of this make on Pinterest (my favourite place online right now – please pop over and follow me if you don’t already) when doing some insect crafts with the kids earlier in the year and knew that it had to be on my Halloween list of things to make. The yarn in my Bostik Bloggers box from Craft Merrily was the perfect prompt. Paper plate spider’s webs are not only easy to make with young children, but they also look really effective and are great for children’s fine motor skills too.
What do you need to make a paper plate spider’s web?
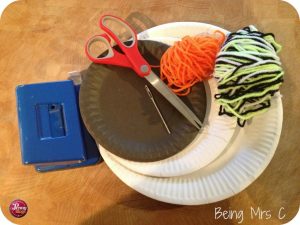
All you need is:
- Paper plates
- Scissors
- Yarn / wool
- Large tapestry needle (blunt if children are doing the activity)
- Hole punch
How to make a paper plate spider’s web
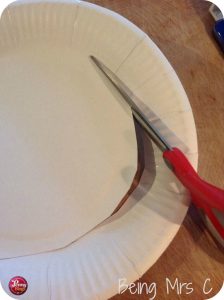
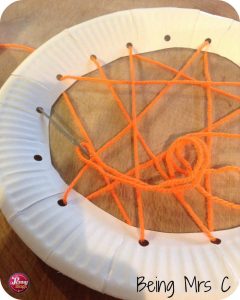
The first thing you need to do is cut out the middle of your paper plate. This can be a bit fiddly to start off with and you might need to fold the plate in half to start off your cutting, so it may be best for an adult to do this part.
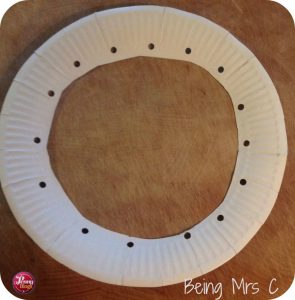
Once you’ve got just the rim of your plate left use the hole punch to make holes around the inside of it. Space them out a bit, but they don’t need to be very evenly spaced, nor does it matter how many you do. It seemed Little Miss C had never actually used a hole punch before so we now have piles of paper and paper plates all with holes punched in them as she enjoyed doing it so much!
Thread the yarn on to the needle and start lacing it across the inside of the cut out plate. It doesn’t matter if you go in and out of holes you’ve already used, or what order you go round the holes, just try to make sure you’ve used all of them. Putting the needle in from the front or the back of the plate also doesn’t matter. This part of the activity is perfect for children – the holes are big enough for them to easily fit the needle through and it doesn’t matter at all as to what order they lace it all up in.
Try to finish by either going through the same hole where you started, or the one next to it and then just tie a not in the two ends of the thread to secure it.
Finishing touches
These are perfect for hanging up as decorations for a Halloween party and would also work well with a small toy spider attached – as I’ve seen on Pinterest – but it seems that I just can’t find anywhere selling toy spiders this Halloween. I’ve searched all the local shops to no avail. I’ll keep my eyes out though as I think it would be the perfect addition.
Disclaimer: We were sent a box of craft goodies as part of our role on the Bostik Family Craft Bloggers Network when this blog post was first published. This post contains affiliate links.

